

Can I Install a Rear Bumper for Geely Coolray with a Diffuser-Style Lower Trim at Home
2026-06-23
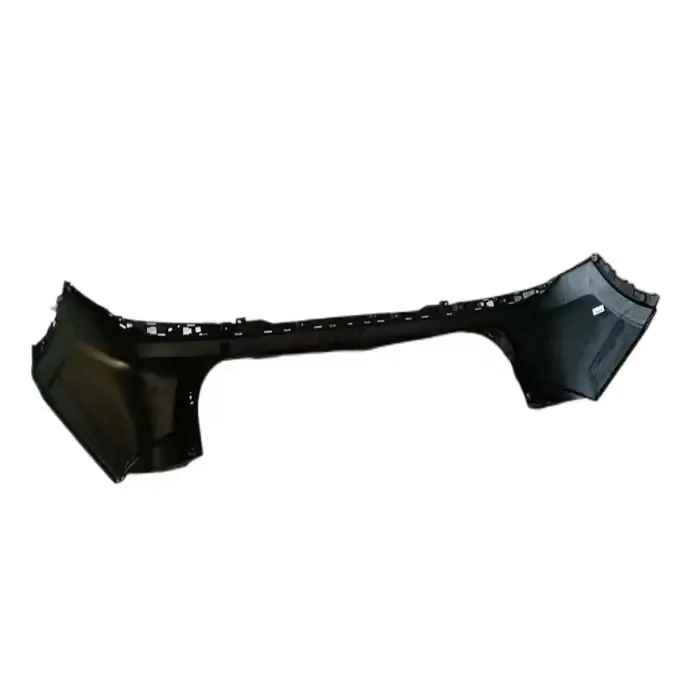
Upgrading or replacing a Rear Bumper for Geely Coolray—especially one with an aggressive diffuser-style lower trim—is a popular modification among SUV enthusiasts. The diffuser not only enhances the sporty stance but also improves underbody airflow. However, the real question is whether this job belongs in a professional body shop or on your garage floor. At YC, we have supplied thousands of bumpers globally, and we see this question daily. The short answer: yes, you can install it at home—but only if you understand the risks, tools, and prep work involved. This guide breaks down every factor so you can decide with confidence.
What Makes the Diffuser-Style Lower Trim Different?
Unlike a standard flat-bottom bumper, the Rear Bumper for Geely Coolray with a diffuser-style trim features integrated fins, fake or functional air channels, and often separate matte-black or carbon-fiber-look inserts. This adds two layers of complexity:
-
Alignment precision – the diffuser must sit flush with the exhaust outlets (or dummy tips) and rear wheel arches.
-
Fastener variety – you will encounter push-pin clips, 10mm bolts, plastic rivets, and sometimes double-sided automotive tape for the diffuser insert itself.
Home Installation Feasibility Scorecard
| Criteria | Difficulty Level (1–5) | Notes |
|---|---|---|
| Mechanical skill | ★★★☆☆ | Basic socket set and trim removal tools required |
| Tool availability | ★★☆☆☆ | Need a torque wrench, plastic pry kit, and floor jack/ramps |
| Painting/color matching | ★★★★★ | Cannot do at home – requires professional booth |
| Electrical (sensors/cameras) | ★★★★☆ | Parking sensors and reverse camera need recalibration |
| Time investment | ★★☆☆☆ | 3–5 hours for a first-timer |
| Risk of damage | ★★★★☆ | Misalignment can crack diffuser fins |
YC recommends that if your score in any “Difficulty” column exceeds 3, you should at least have a helper or a video walkthrough ready.
Step-by-Step Reality Check
1. Pre-Installation Preparation
-
Order a Rear Bumper for Geely Coolray that comes pre-painted from a supplier like YC—this eliminates the single biggest home-garage obstacle.
-
Verify that your new bumper includes all diffuser-specific brackets. Many aftermarket units omit them.
2. Removal of Old Bumper
-
Disconnect the battery (to avoid airbag/electrical surges).
-
Remove rear tail lights, wheel arch liners, and underbody shields.
-
Unclip parking sensor harnesses—label each wire with tape.
3. Diffuser Assembly Before Mounting
-
Attach the lower diffuser trim to the main bumper shell while both are off the car. This lets you adjust clip positions without straining your back.
-
Use a rubber mallet to gently seat the diffuser into its grooves.
4. Mounting and Torque Sequence
-
Hand-tighten all bolts first, then torque to 8–10 Nm (over-tightening cracks the diffuser).
-
Reconnect sensors and test each one before fully tightening the bumper.
The 3 Most Common Pitfalls (and How YC Helps)
| Pitfall | Consequence | YC Solution |
|---|---|---|
| Diffuser gaps on one side | Uneven look, water ingress | Pre-installed alignment pins on all YC bumpers |
| Sensor false alarms | Park assist fails | Each Rear Bumper for Geely Coolray includes sensor grommets with exact OEM angles |
| Exhaust heat melting diffuser | Warped plastic | YC uses high-temp ABS + heat shields included in the box |
Required Tools Checklist
-
Plastic trim removal kit (5+ pieces)
-
¼” and ½” drive socket set with extensions
-
Torque wrench (capable of 5–25 Nm)
-
Floor ramps or jack stands
-
Isopropyl alcohol and microfiber cloths (for tape adhesion)
-
Second pair of hands – non-negotiable for diffuser alignment
Frequently Asked Questions (FAQ) – Rear Bumper for Geely Coolray
Q1: Do I need to remove the exhaust tips to install the diffuser-style lower trim on my Geely Coolray?
A: Not always, but in most cases, yes. The diffuser’s upper edge often slides behind the exhaust heat shield. If your Rear Bumper for Geely Coolray has a molded exhaust outlet cutout, you will need to loosen the exhaust hanger bolts (two 13mm nuts) and lower the muffler by about 2 inches. This gives you enough clearance to slide the diffuser into its retaining clips. Failing to do this is the #1 reason for cracked diffuser fins during installation. YC includes a detailed torque sequence diagram with every bumper shipment to guide you through this exact step.
Q2: Can I reuse my original parking sensors and camera, or do I need new ones for the diffuser-style bumper?
A: You can absolutely reuse your original sensors and camera—provided they are not damaged during removal. The mounting holes on a Rear Bumper for Geely Coolray from YC are CNC-cut to match the OEM sensor diameters (typically 18.5mm for front/rear sensors). However, the diffuser-style lower trim changes the camera’s viewing angle slightly because the bumper’s lower edge sits 15–20 mm lower. You will need to recalibrate the 360° camera system using a diagnostic tool (e.g., Launch X431 or Autel). Without recalibration, your parking guidelines will show incorrect distances. YC offers a free calibration reference sheet upon request.
Q3: How long will a home-installed diffuser-style bumper last compared to a shop-installed one?
A: If installed correctly with proper torque and heat-shield placement, a Rear Bumper for Geely Coolray will last just as long—typically 5–7 years under normal driving conditions. The difference is not durability but warranty. Most shops offer a 12-month labor warranty covering rattles, gaps, or loosening bolts. At home, you assume that risk. That said, YC provides a 2-year material warranty on all our bumpers, covering cracking, fading, or warping regardless of who installs it. The key variable is the diffuser’s tape adhesion—if you skip the isopropyl cleaning step, the diffuser may peel away after 6 months. We strongly recommend using 3M VHB tape (not generic brands) for the diffuser-to-bumper bond.
Final Verdict: Should You DIY?
| Your Profile | Recommendation |
|---|---|
| First-time modifier with basic tools | Proceed with caution – order pre-painted from YC and watch 3 different installation videos |
| Experienced DIYer with a helper | Yes – you will save $200–$400 in labor costs |
| No access to a torque wrench or ramps | Do not attempt – take it to a shop |
Why Choose YC for Your Rear Bumper for Geely Coolray
YC is not just a seller—we are a manufacturer that tests every diffuser-style bumper for fitment on actual Geely Coolray models (2021–2026). Our bumpers come with:
-
Pre-installed diffuser clips and heat shields
-
Color-matched paint codes (send us your VIN)
-
Step-by-step video links (no generic instructions)
-
24/7 technical support via WhatsApp
Contact Us Today
Still unsure about tackling the installation yourself? Send your VIN and a photo of your current Rear Bumper for Geely Coolray to our team. YC will reply within 4 hours with a custom installation guide tailored to your model year and diffuser style. We also offer video call assistance for critical steps—free of charge.